
Subtotal ₨ 0
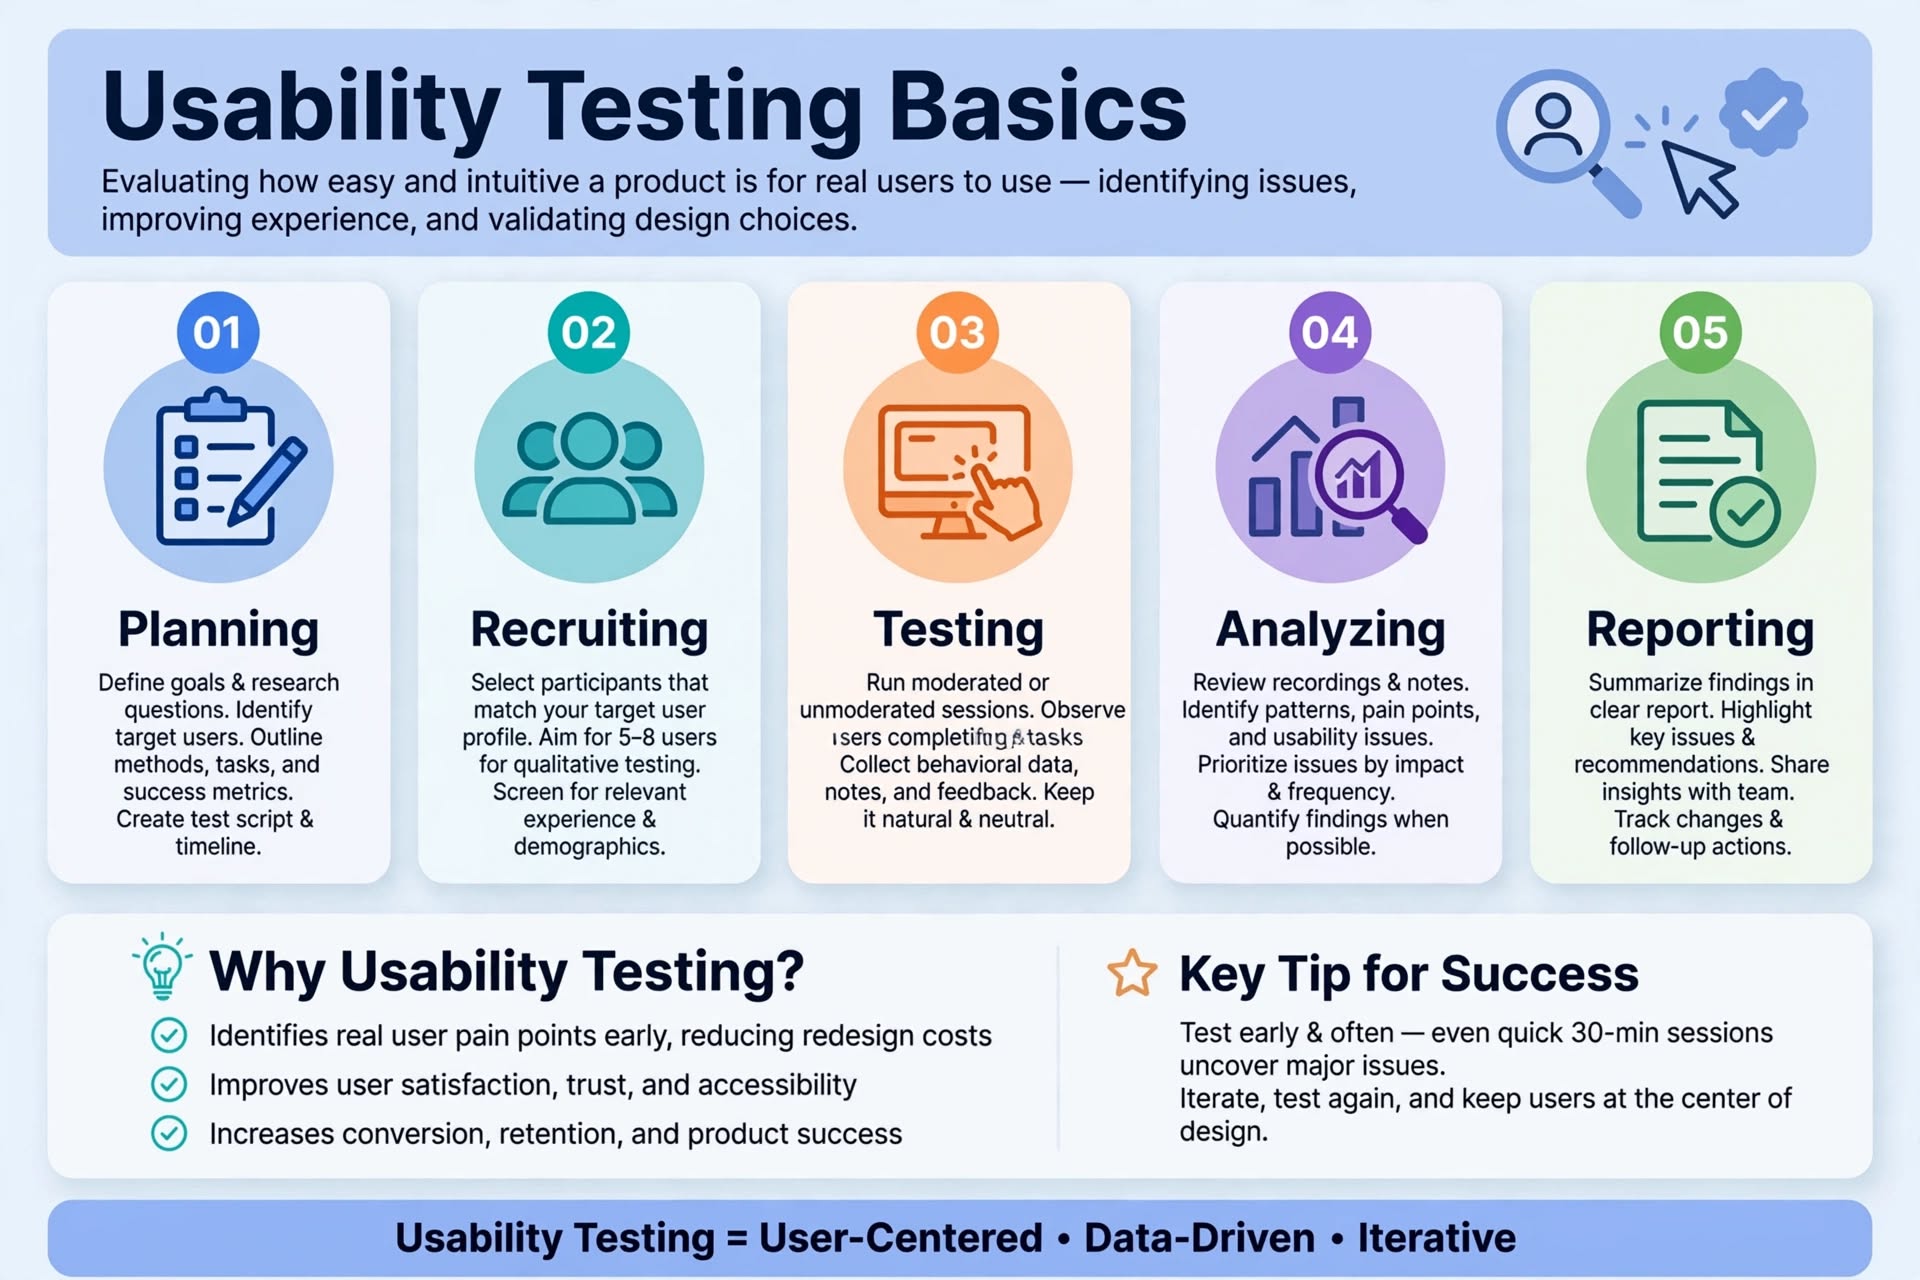
If you want to build products people love, you cannot skip testing. Learning usability testing basics is the most important skill for any designer, product manager, or business owner. It is how you stop guessing and start knowing what real users struggle with. Usability testing shows you exactly where users get stuck, confused, or frustrated. In this guide, you will learn top tips that even beginners can use to run effective tests.
What Are Usability Testing Basics and Why They Matter?
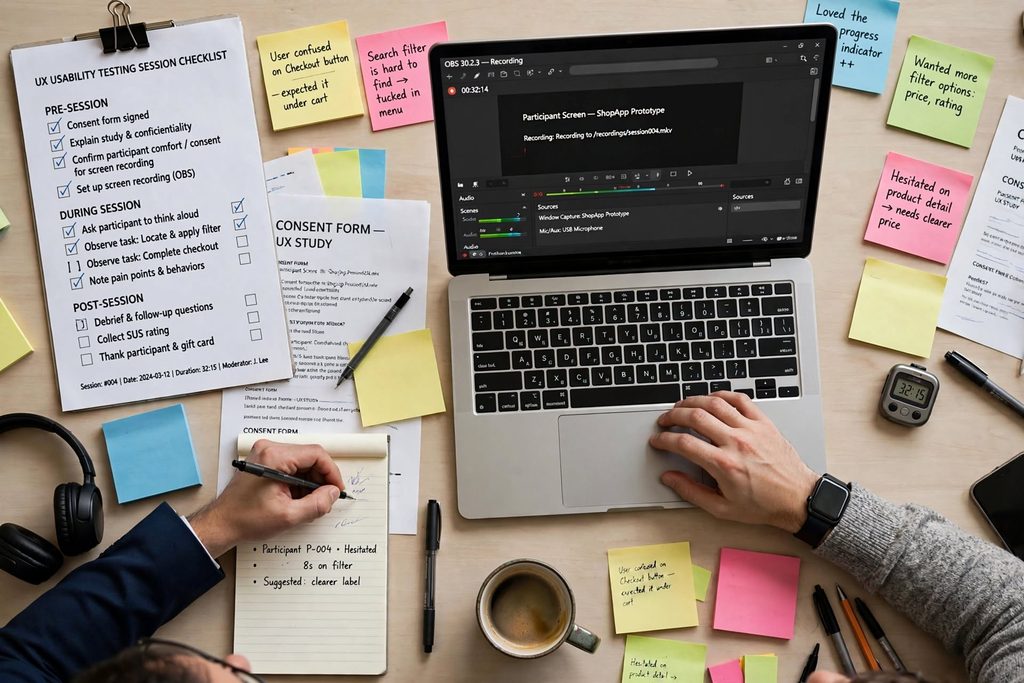
Many people think usability testing is expensive and complicated. It is not. Usability testing basics means watching real users try to complete tasks on your website or app. You observe their behavior, listen to their thoughts, and identify pain points.
Why does it matter? Because what makes sense to you might not make sense to your user. You are too close to your product. Testing with just 5 users can uncover 85% of major usability issues. This saves you months of rework and thousands of dollars in development costs. It is the fastest way to improve conversion and user satisfaction.
Top 7 Tips for Usability Testing Basics for Beginners
Follow these 7 powerful tips to run your first test like a pro.
Tip 1: Define Clear Goals Before You Start Testing
Never start testing without a goal. Ask yourself: What do I want to learn? Are you testing if users can complete checkout? Or are you testing if they understand your new homepage?
Write down 2-3 specific tasks. For example: “Find and purchase a wireless headphone under $100”. Clear goals keep your usability testing basics focused and your results actionable. Vague goals lead to vague insights.
Tip 2: Recruit the Right Users, Not Just Any Users
Testing with the wrong users gives you useless data. If your product is for busy moms, don’t test with college students. Define your ideal user profile based on age, tech skills, and behaviors.
For usability testing basics, you only need 5-8 participants. Use a short screening survey to filter. Recruit from your existing users, social media, or platforms like UserTesting. Always offer a small gift card as a thank you. It improves show-up rates.
Tip 3: Write Tasks That Feel Real and Natural
Bad task: “Test our navigation”. Good task: “You want to buy a birthday gift for your friend. Find something suitable on our site”. The second one feels real. It encourages natural behavior.
Avoid leading language. Don’t say “Click the big green button”. Instead, say “How would you proceed?”. Let users explore. Your job is to observe, not to guide. This is a core principle of usability testing basics.
Tip 4: Use the Think Aloud Method During Sessions
Ask participants to think aloud. Say: “Please share what you are thinking as you go”. This reveals their mental model. You will hear why they clicked something, what confused them, and what they expected to happen.
Don’t interrupt them while they are thinking. Stay quiet and take notes. If they get stuck, ask gentle prompts like “What are you thinking right now?” This simple technique makes your usability testing basics 10x more valuable.
Tip 5: Test Early and Test Often, Even with Paper
You don’t need a finished product to test. You can test paper sketches, wireframes, or Figma prototypes. Testing early is cheaper than fixing after development.
Don’t wait for perfection. Run a quick 30-minute test every week. Even informal testing in a coffee shop is better than no testing. The key lesson of usability testing basics is that frequency beats perfection.
Tip 6: Focus on Behaviors, Not Just Opinions
What users say and what users do are different. Pay attention to behaviors. Did they hesitate? Did they click the wrong button? Did they scroll past important content?
Record their screen and facial expressions (with permission). Note down pain points, success rates, and time on task. Behaviors tell you the real story behind usability issues.
Tip 7: Analyze Quickly and Take Action Immediately
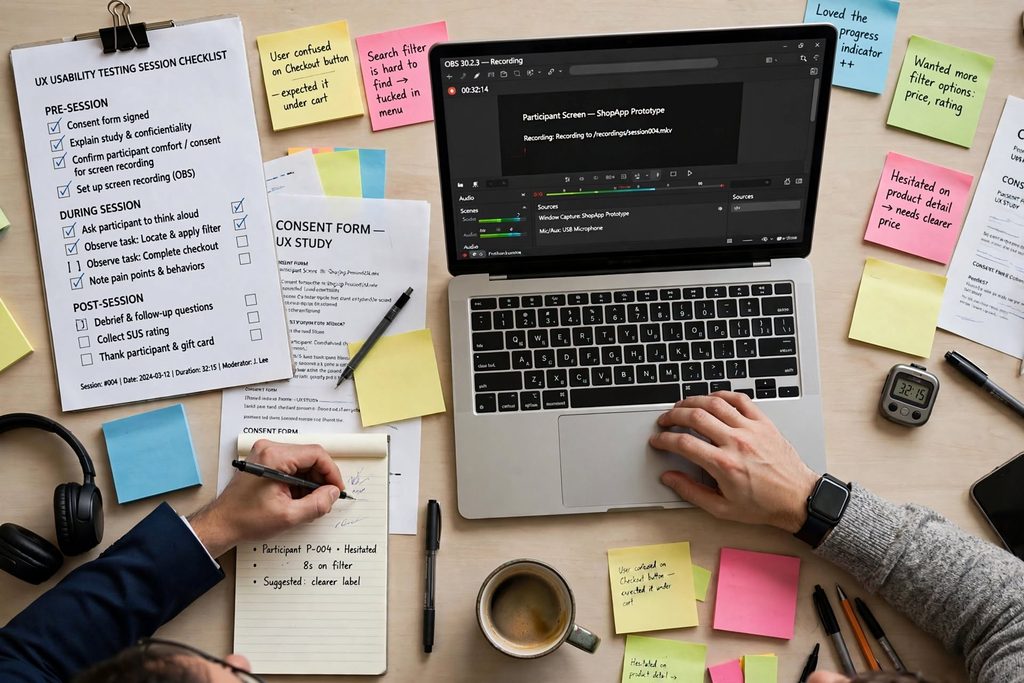
Don’t let recordings sit for weeks. Analyze the same day. Use sticky notes or a Miro board to group similar issues. Create an affinity map of observations.
Prioritize issues by impact and frequency. Fix the most critical issues that block users from completing tasks. Then test again. Usability testing basics is an iterative loop: test, fix, test again.
Common Mistakes to Avoid in Usability Testing Basics
One common mistake is defending your design during the test. Never say “But that’s obvious” or “You should click there”. You are there to learn, not to teach.
Another mistake is asking leading questions like “Did you like this feature?” Instead, ask open-ended questions like “How did that feel?” This gives you honest feedback.
Finally, don’t test with your team members. They know too much about the product. Always test with real, unbiased users.
Best Free Tools to Get Started with Usability Testing Basics
You don’t need expensive labs. For remote testing, use Zoom with screen share and record. For note-taking, use Google Docs or Notion.
For prototyping, use Figma’s free prototype feature. For analyzing, use free tools like Maze or Useberry for unmoderated tests. For recruiting, use social media or your email list.
Start simple. Upgrade tools as you grow.
Conclusion
Mastering usability testing basics is not about becoming a research expert overnight. It is about building a habit of listening to your users. These 7 powerful tips will help you uncover hidden issues, save development costs, and build products that truly work for people.
The best products are not built on assumptions. They are built on real user observations. Start with 5 users this week and see the difference yourself.
Ready to build user-friendly products that convert?